Wednesday, June 29, 2011

Cereal box marble run

I made this trial marble run following the tutorial here. It came out a bit wobbly and I should have cut the holes bigger, soetimes we had to push the marble a little bit, but we had fun with it nonetheless.

Monday, June 27, 2011

St. John's Day celebration

We did not do anything fancy, being away from home and all but I did want to start some traditions going this year. So I made this simple centerpiece with a big golden candle, seashells, rose petals and waterlilies, the lilies being the most exciting part. I found directions in All Year Round and they are closed to start with but when you put them to float in water they slowly spread their petals and look so life-like (well, except for the rainbow one but I couldn't resist)! Even my Dad (who is kind of a mad scientist) was impressed.
We had Berry pudding for dessert, which was very simple but good. It was basically just layers of Italian bread and fresh berries - raspberries, blueberries and strawberries - pureed with sugar, all covered with sweetened whipped cream (after being left to soak overnight).
We left some treats for fairies to dine on after their ball: honey to drink, blueberries and caramel to eat, all served in mother-of-pearl dishes with rose petals for chairs and vases.
In the morning we found that fairies left a piece of moonlight and starlight in the vases (in the forms of Swarovski crystals). I really enjoyed celebrating this day for the first time and hopefully next year, when Kitten is older, we will add some more traditions.

Wednesday, June 22, 2011

Summer Solstice

Yesterday was Summer Solstice, the longest day of the year and to celebrate it we decided to make the Father Sun loaf. Next time I will probably only take a third of the recipe because it turned out HUGE (you can see how the rays are overflowing on top and bottom, I did not have any big square pans), but it was kind of appropriate for the Sun. It was delicious and we froze two thirds of it to enjoy later. Kitten especially was impressed with the loaf and kept asking for "more Sun with butter". I have to admit, I enjoyed sculpting it and did not expect it to turn out nearly as good (so humble, I know!). I can see many many bread sculptures in my future. But, to the recipe (you can use any bread recipe but this is the one I chose).

Ingredients:
1 packet (or 2 1/4 tsp) yeast
1 cup warm water or milk (I used milk)
1 tsp honey
6-9 cups flour (the recipe says 6 but I ended up using 9 to get the proper consistency, I used 2 cups whole wheat and the rest white flour)
2 tsp salt
3 cups water
1/3 cup honey (the end result was just a little sweeter than regular bread, so you may want to add some more sugar)
1/3 cup oil or melted butter (I used butter)
Optional raisins, nuts, cinnamon, nutmeg, spices, garlic, etc. (I used dried cranberries, crushed walnuts, cinnamon and nutmeg).

Proof the yeast in 1 cup of milk and honey until it gets bubbly. This should take about 15 minutes. Mix water, salt, honey and oil/butter in another bowl.
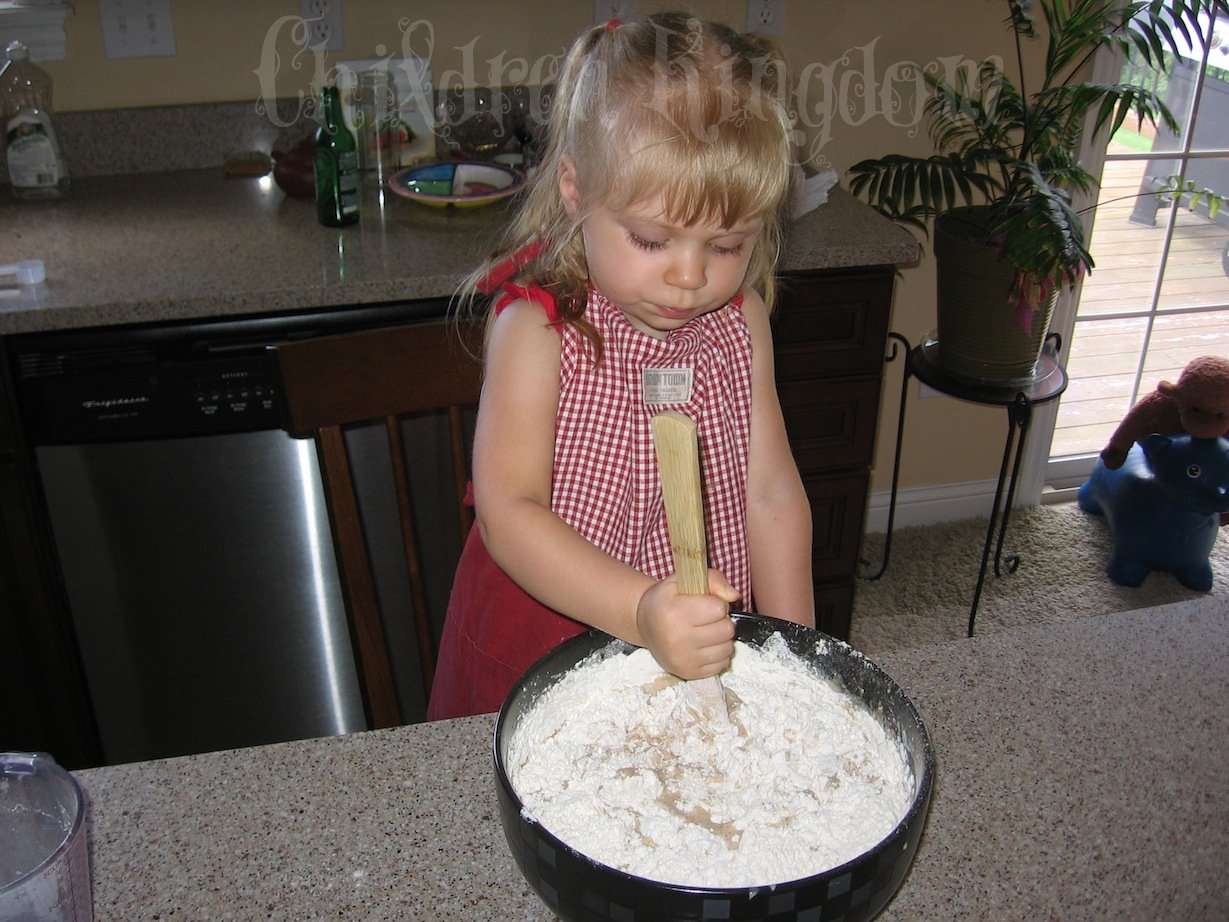
Add yeast mixture to liquids and allow the child with wooden spoon to stir while you add flour one cup at a time until it is too hard to stir.
Add your spices while the dough is still pretty liquid and nuts/fruits when it is more dense.
Get your hands messy by mixing/kneading the rest in by hand. The consistency should be pretty dense and not sticky, your hands should be able to stay clean and not covered with stuck dough. Knead for a while until the dough is smooth and shiny. It took me about 20 minutes but I am sure it could have used some more kneading, my hands got tired.

Put the dough in a clean bowl with a small amount of oil in it and cover with a damp towel. Allow to rise until it doubles in size.
Punch down, make the Sun or loaves or whatever you fancy and allow to rise again. I divided the dough in halves, made a circle from one half, pinched small pieces from another half, rolled them to make facial features, adding cranberries for eyes and then pinched off bigger pieces, rolled them into balls, stuck them all the way around the sun and pulled them into rays. I did this step without Kitten's help because I wanted a specific result but next time I will allow her to shape it too.
Bake in preheated to 350F oven for 40 min or so depending on the size of the loaves.

Tuesday, June 21, 2011

Toothpick shaker activity

I only had to sort out thicker toothpicks and Kitten was good to go - she was very concentrated on putting more and more toothpicks in the shaker and then shaking it to check the sound. Great fine motor practice and not as easy as it may seem!

Friday, June 17, 2011

{this moment}

{this moment :: inspired by soule mama}
A Friday ritual. A single photo - no words - capturing a moment from the week. A simple, special, extraordinary moment. A moment I want to pause, savor and remember.

Thursday, June 16, 2011

Vacation!

Sorry for disappearing but we suddenly decided to go visit both sets of grandparents for a total of 4 weeks! So the past week of packing, cleaning, driving for 14 hours and arriving was pretty hectic. Kitten was sooo excited by the whole craziness of it all, she even packed her things as well! And yes, it took my husband a while to put everything back where it belonged (I think she even added more stuff after I took this picture). He inquired why I let her do it and my reply was "But it kept her occupied for at least an hour!" Seriously, she was dragging all her toys to where I was piling things, rearranging them, putting them in plastic bags and on and on. I just could not put a stop to it, it was so helpful to my packing!

Monday, June 6, 2011

Dyeing playsilks - Part 2

Part 1, which describes my experience with dyeing playsilks with icing colors is here.

This time I decided to go for specialized silk dyes in hopes of achieving a more predictable and even result. I wanted a dye that would be easy to use and not involve specialized equipment or harsh chemicals. After reading about all silk dyes I decided to try Jacquard Acid Dyes and ordered these colors (from top clockwise): Cherry Red, Burnt Orange, Sun Yellow, Brilliant Kelly Green, Sky Blue, Silver and Brown.
I added some orange to brown because I wanted a warmer color and it came out shimmery golden, very pretty. Green again disappointed me, I was hoping for a grass green and this is quite bright *sigh*. Cherry red is a bit too cherry, still don't have my bright red. I relied on them calling this color primary in their palette but it was a mistake, may be will order some other red next time. But yellow, grey, blue and orange were perfect. I still had varying degrees of unevenness but much less than with icing colors, may be because of the dye or may be because I prewashed with Synthrapol.

Here is what I did (took me quite a while to convert 1 lb of fabric to two playsilks).
Prewash your silks with Synthrapol. I did not know that the first time but any residue on the silk, like leftover silkworm gum, oil from hands, etc. will cause dye not to absorb evenly. Synthrapol removes all that, as well as leftover loose dye afterwards.
For 2 35" square playsilks I boiled 2 liters of water, added 1 tbsp of vinegar and after that 1.75 of 1/4 tsp dye (this is a bit mind twisting, feel free to add 1/2 tsp but you really need that little dye, very economical). Mix very well, red for some reason was very stubborn and did not want to dissolve nicely. Add wet silk. Keep on low heat, just under boiling point, for 30 minutes stirring frequently. Remove from heat and let cool down. Wash in Synthrapol, let dry until slightly wet and iron. Do not wait till completely dry or you will not be able to remove small wrinkles.

I also ordered a 12-pack of silk handkerchiefs and dyed them with my bigger silks. They came out very pretty and are a good size to wrap small dolls, use in play scenes, make small animals, etc.

Friday, June 3, 2011

Mother and Baby

This is a small figure of Mother's love that I made using More Magic Wool book for inspiration, I changed the directions quite a bit and also needle felted some portions of her. I am quite proud of her hair, I totally made the method up (not that it is so complicated) and it turned out wonderful. I still need more practice with hands though, can't make them small enough. She stands about 6.5 inches tall and the baby is 2.5 inches.
Here is the side view:

Wednesday, June 1, 2011

Dyeing playsilks - Part 1

Playsilks are one of the best toys you can give your child. They are completely open-ended, beautiful and natural. There are so many things they can be used for, in any age: peekaboo, costumes, bird's wings, sack, blanket for a doll, props for imaginative play such as river, lake, meadow, mountains (cover a box with a grey silk), walls and roof of a house, Kitten also loves to use blue silk as water in a play bath for dolls to wash in, etc. etc. etc.
They are not prohibitively expensive but I liked the challenge of dying my own and also to try and get some colors that are not widely available, such as brown and grey.

First I decided to try Wilton's Icing Colors because it is completely non-toxic and there is a wide variety of colors. Here is what I did:
1. Make sure that you silk's edge is finished with silk thread, cotton or polyester will not take up the dye. I get my silks from here, they have the best price as far as I am aware. Usually I use 35" square but they have a variety of sizes, even handkerchiefs.
2. I boiled a (metal) pot of water, about 0.5 gallon for each silk, but basically so that it can swim freely. Add a couple of tablespoons of vinegar and dye. The amount of dye will depend on the color, I just kept adding until the color of water seemed intense enough. The more the better as these come out pretty light. I think on yellow I spent almost an entire tub and it still came out as very very light. Mix very well.
3. Wet your silk in water and submerge into dye. Leave for 30 minutes or longer, stirring frequently.
4. Rinse under cold water until water runs clear. Cover your iron board to prevent any leftover dye to come through. Iron while still slightly dump or you won't be able to get rid of tiny creases. But do not iron while soaking wet or you will have permanent lines as the water evaporates.

I was somewhat disappointed with the colors, they are pretty but very unpredictable, light and I was not able to get some colors that I needed. From top clockwise these are the Wilton colors I used: lemon yellow, leaf green (came out more like aqua), sky blue, violet, Christmas red (or may be it is pink, they are so disappointingly similar I can't tell the difference), brown (I know, completely lilac!), pink, and orange.
I also left one white. They do have a lot of variations in dye intensity, even though I was stirring them frequently. I guess this is just the downside of doing it at home in a somewhat small pot.

Next I decided to try dying with special silk dyes. Check out Dying playsilks - Part 2!